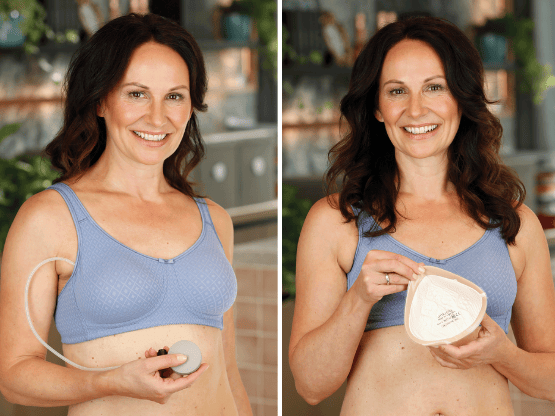
How to apply nipple stickers
Wondering how to apply nipple stickers to your breast form, post-mastectomy? Read on for a step-by-step guide.
Step-by-step guide: applying nipple prosthetics to breast forms
If you want a natural looking and comfortable nipple prosthetic that makes you feel comfortable, our silicone nipple prosthetics can help. Applying nipple prosthetics to breast forms might not have been something you’ve done before, so we’re sharing how to apply them comfortably and easily.
Step 1: Gather your supplies
Before you begin, make sure you have all the necessary supplies:
Step 2: Clean your breast forms and nipple prosthetics
Start by cleaning both your breast forms and nipple prosthetics. Use a mild, fragrance-free soap and lukewarm water to gently cleanse the surfaces. Pat them dry with a soft cloth to ensure a clean and adhesive-friendly surface that will stick where it needs to.
Step 3: Position your breast forms
Carefully place your breast forms in the desired position on your chest. Use a mirror to ensure proper alignment and symmetry. Breast forms should sit comfortably against your chest wall for a natural look.
Step 4: Align and apply nipple prosthetics
Hold the nipple prosthetics above your breast forms and align them with the nipple placement on your breast forms. Take your time to achieve the desired positioning. Once aligned, gently press the prosthetics onto the breast forms, securing them in place.
Step 6: Adjust for comfort and symmetry
Ensure both nipple prosthetics are securely in place and adjust as needed for comfort and symmetry. The silicone material allows for flexibility, so you can make minor adjustments until you achieve a natural and balanced appearance that you’re happy with.
Our commitment to empowering women post-mastectomy extends to every aspect of our products. By following this step-by-step guide, you can confidently apply nipple prosthetics to your breast forms.

 AUSTRALIA
 BELGIË
 CANADA
 DANMARK
 FRANCE
 DEUTSCHLAND
 ITALIA
 NEDERLAND
 NORGE
NORGE POLSKA
 REST OF THE WORLD
 ESPAÑA
 SVERIGE
 UK
UK


